P
** Pending Removal **
Guest
How long did it take you to make it skeetuk ?

To be fair I'm not really interested in the finer points of how you get the lustrous finish as mine would prolly just get covered in laminated cut outs of my third place wins at Horne etc :.: :.: , what really intrigues me is getting the grip and comb shape just right.You could both ask me and I could tell you?
Did you not see my post?
Well Nicola.How long did it take you to make it skeetuk ?


I set 'em up, you bat 'em out the parkLubed glove... Oooooh matron
All I can say is 'wow'....!!Well Nicola.
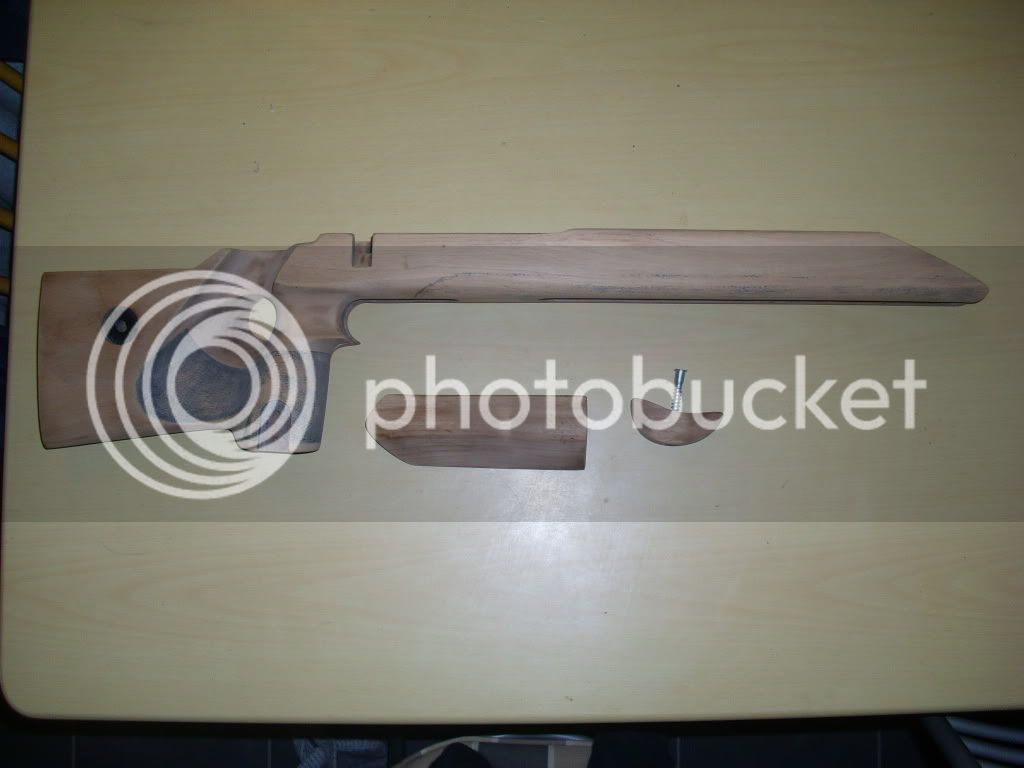
It started out as a rather drab looking Anschutz 1813, about 20 years old...varnished.
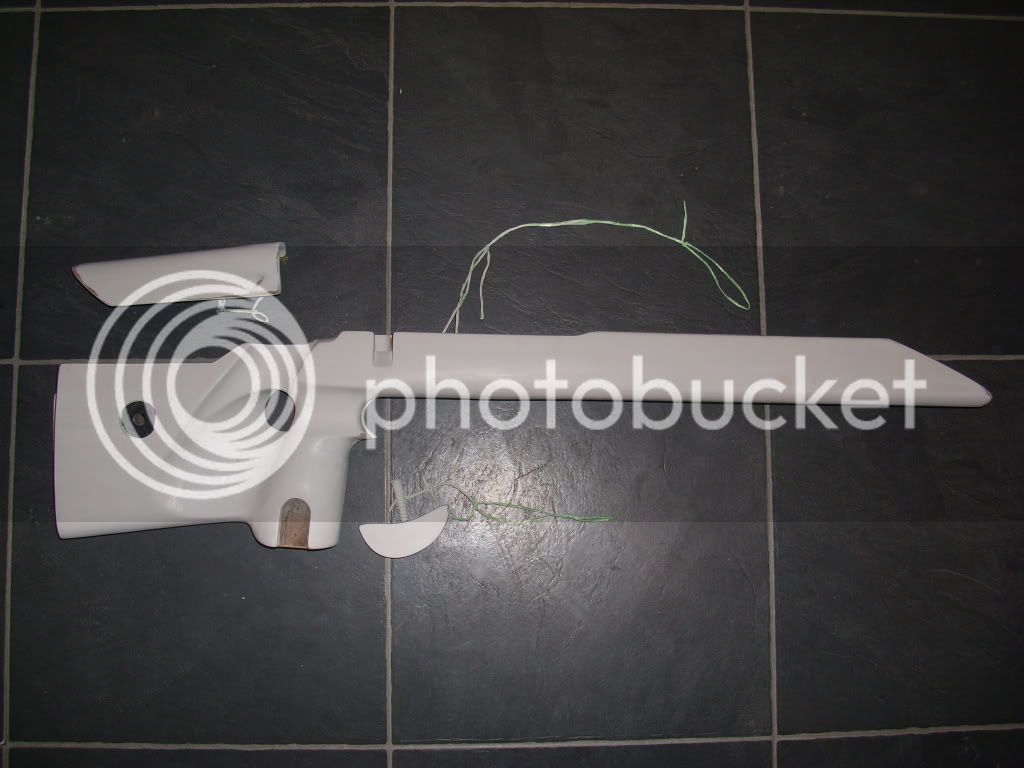
So, I re shaped the fore-end into a more modern looking wedge shape, removed all the old finish and stippling, sanded the living crap out of it, then got it into a primer state, guide coated it to find dents and scratches, filled them, primered again, guide coated again then wet sanded it back till it was smooth as silk. then it sat in my cupboard for a year.
Sanded.

Primered

Then, once I could afford the house of Kolor paint that I wanted to use.
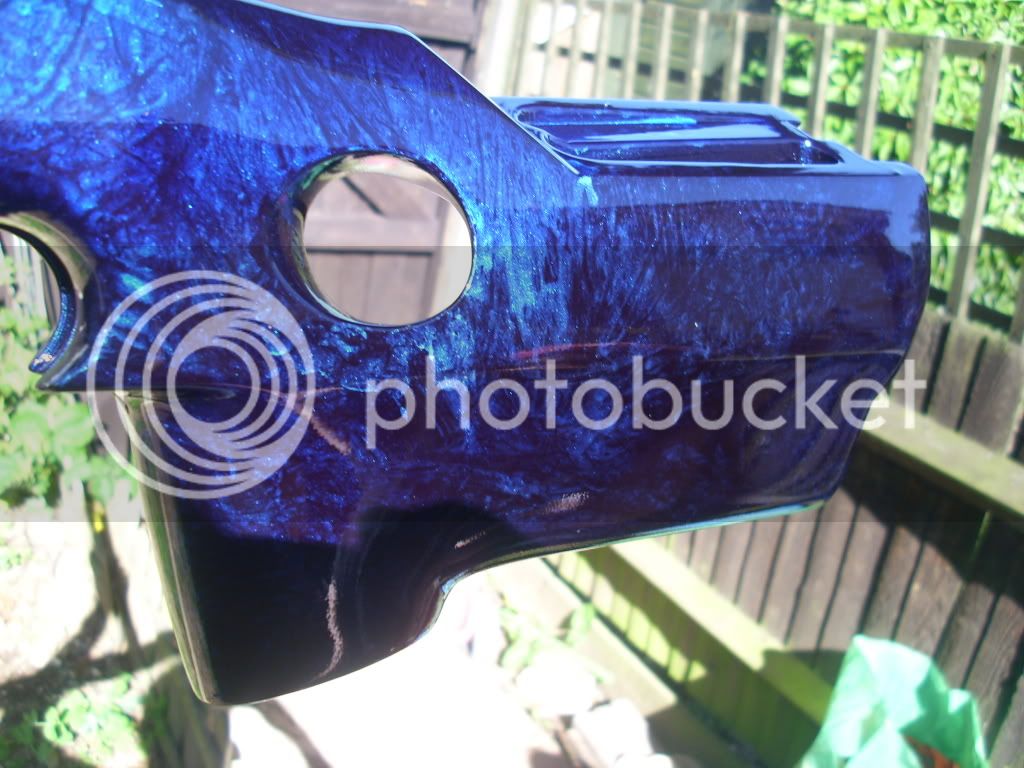
Straight "off the gun" after curing over night

Not the best light to see the blue.

Probably a week of evenings? There is a certain curing time between certain coats and so on and has to be wet sanded between stages.
Black base coat went down first (2 coats),
3 Coats of Intercoat clear (to protect the black base)
Then the marbliser is sprayed on thick, then cling film applied and removed/jiggled to create the effect.
Then 3 coats of catalysed clear mixed with Blue Candy.
Then 3 more just clear
Then 3 more just clear.
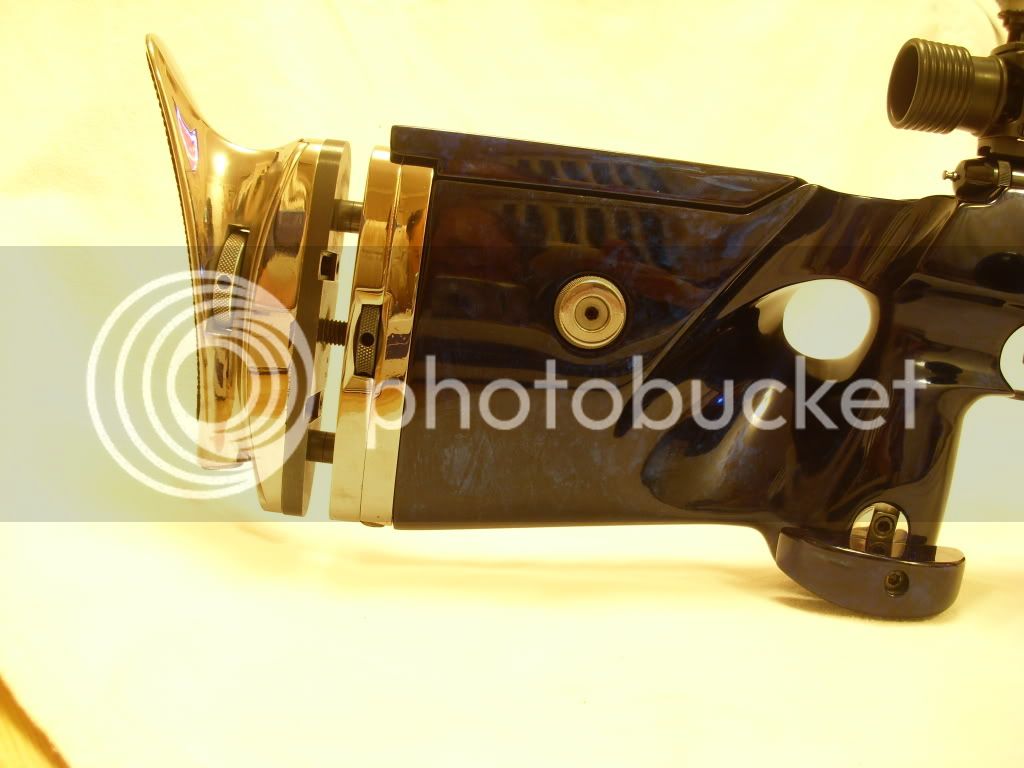
All drying and sanding between, then the final wet sand to 2500 grit, then stages of buffing out and polishing.
@ Hamster
To get the stock right, would involve removing material, then applying something like Isopon P38 car body filler, grip it up with a lubed gove on, let it set then shape it up...Repeat till perfect.
To be honest, while I have played with "True Fire" designs it is not something I can say I am "good" at...nowhere near enough practice.
This is by a very talented man named Ed Hubbs

This is more my cup of tea, though not my work.

I love to paint...really...I love it.All I can say is 'wow'....!!
i bet you use colgate cavity protection as illustrated aboveThat will start another thread "which toothpaste is best?"
Yeah, it's good stuff. You shove that in a cavity, noting else is getting in there ...i bet you use colgate cavity protection as illustrated above
Hello silvertop glad you found the site hope you shot ok today was a tough one with the wind playing havoc, gun looks and feels great well done.the semi auto stock that hamster shows belongs to me,i purchased a beretta monty carlo stock and went from there,i cut the grip back, chopped down and reprofiled the top surface and took all the checkering off. after that came 6 layers of fire then 8 layers of 2 pack.5 months later, there we are
Do you have any better pictures of it? Very nice work ... did it yourself I take it? What air brush are you using?the semi auto stock that hamster shows belongs to me,i purchased a beretta monty carlo stock and went from there,i cut the grip back, chopped down and reprofiled the top surface and took all the checkering off. after that came 6 layers of fire then 8 layers of 2 pack.5 months later, there we are
Enter your email address to join: